Lots of indie game writers love Twine for its simplicity and accessibility. Write a game, save it as an HTML file, and bam: instant interactive fiction, playable with any modern web browser.
But with the help of languages like Sugarcube 2, Twine is also capable of more feature-rich stuff complete with visual assets and music. Unfortunately, the documentation on that can be a little sparse. So, to save the next person down the road some time, here’s a quick guide on how to get images and music into a Twine game, and how to package that game to be playable on itch.io.
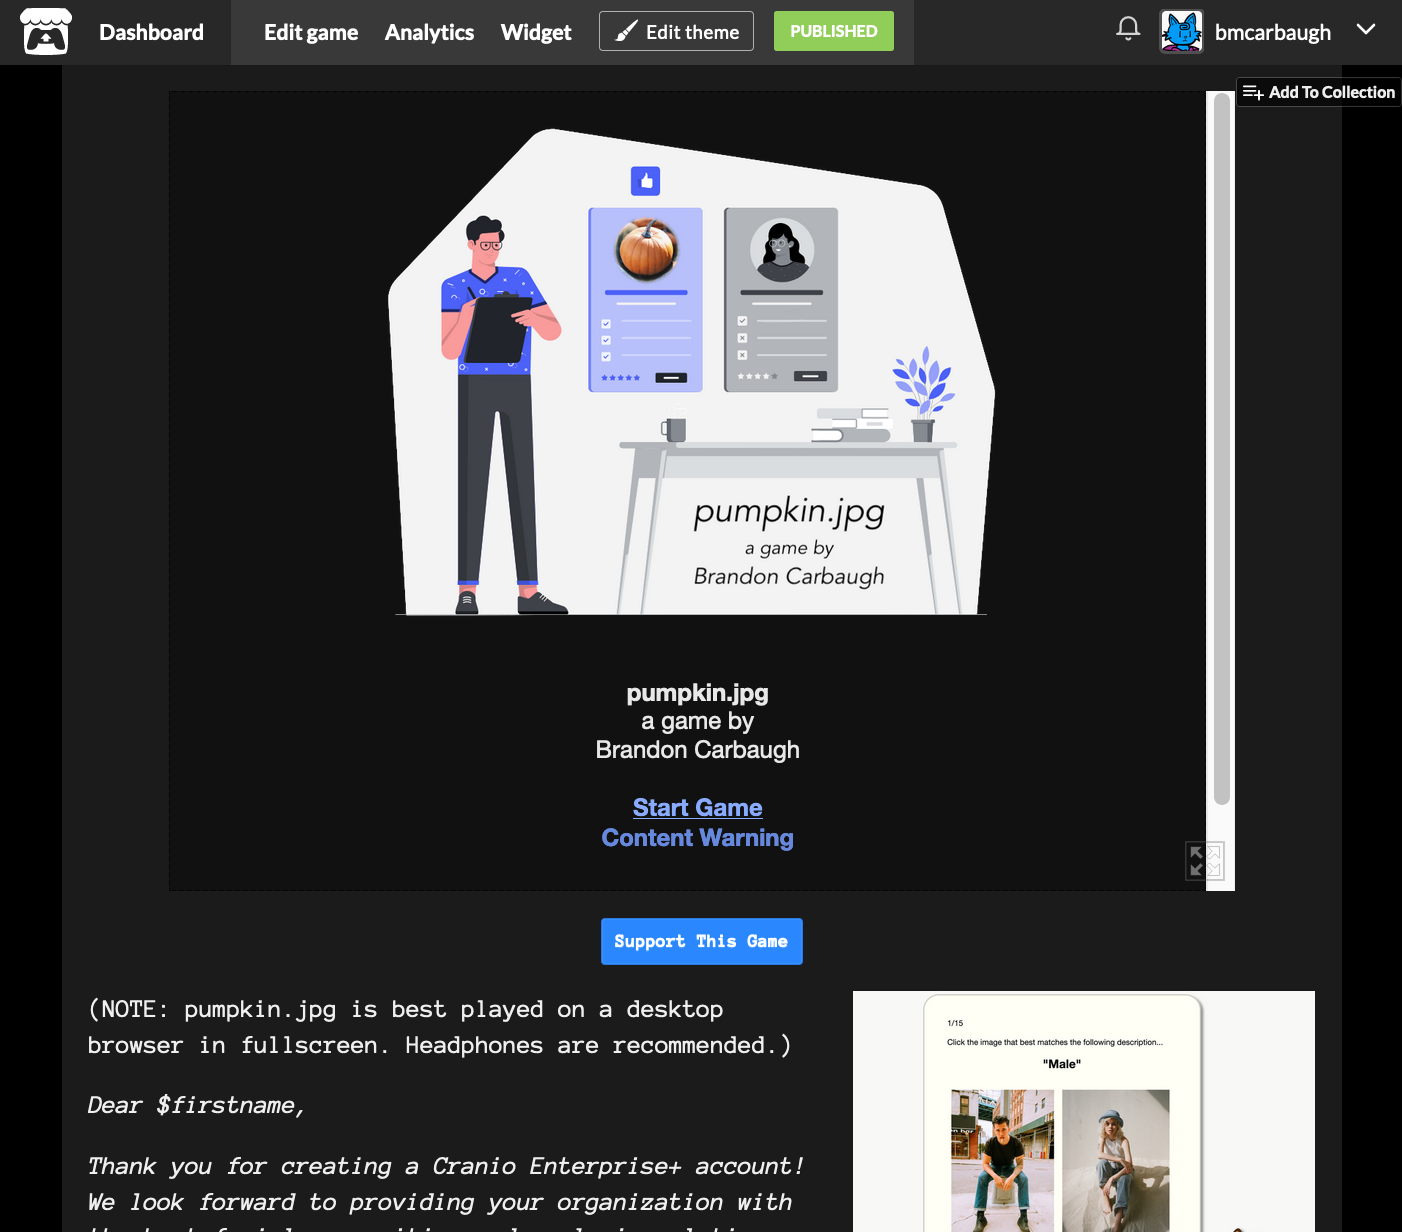
I recently released a new game (which you can play now!) so we’ll use that as an example. I’ve also included the source files for pumpkin.jpg at the bottom of this post, with a few terms for their use.
Please note: For this tutorial, I’m going to assume you’re using the desktop version of Twine, the Sugarcube language, and have general familiarity with both. If not, you’re going to want to consult some other tutorial first. If you’re using another language like Harlowe, the principles are probably pretty much the same, but I don’t use it myself, so I can’t help you.
HTML5 Game File Structure
The first thing it’s helpful to understand is the way an HTML5 game is structured at the folder level.
The heart of any html game is the index file. This is what a browser looks for when you open an html page; anything else in the folder are things the index file references and calls.
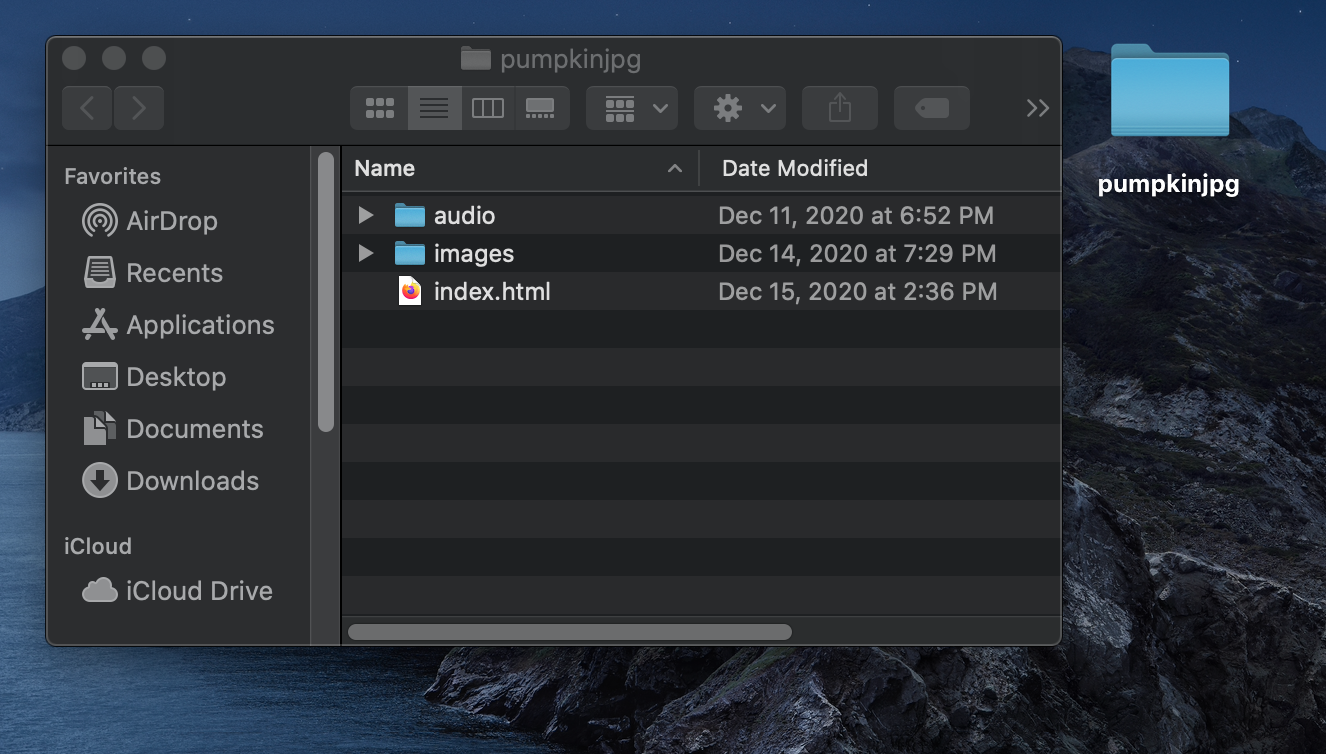
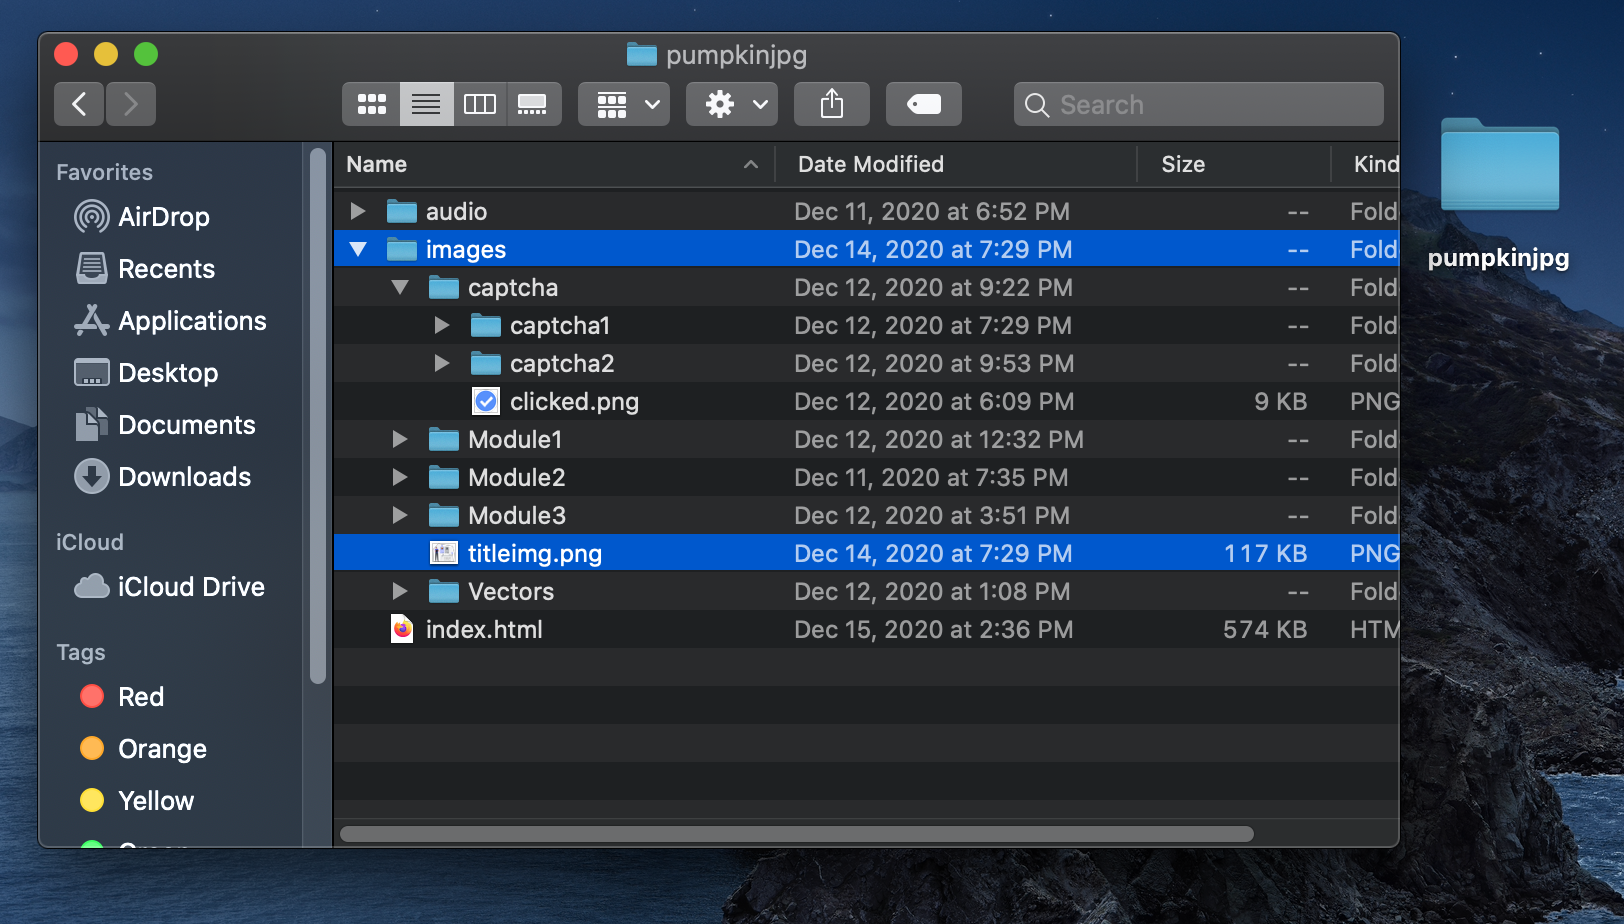
Here you can see the folder for pumpkin.jpg. Index.html is my published Twine story. The folders are where I store the images and music.
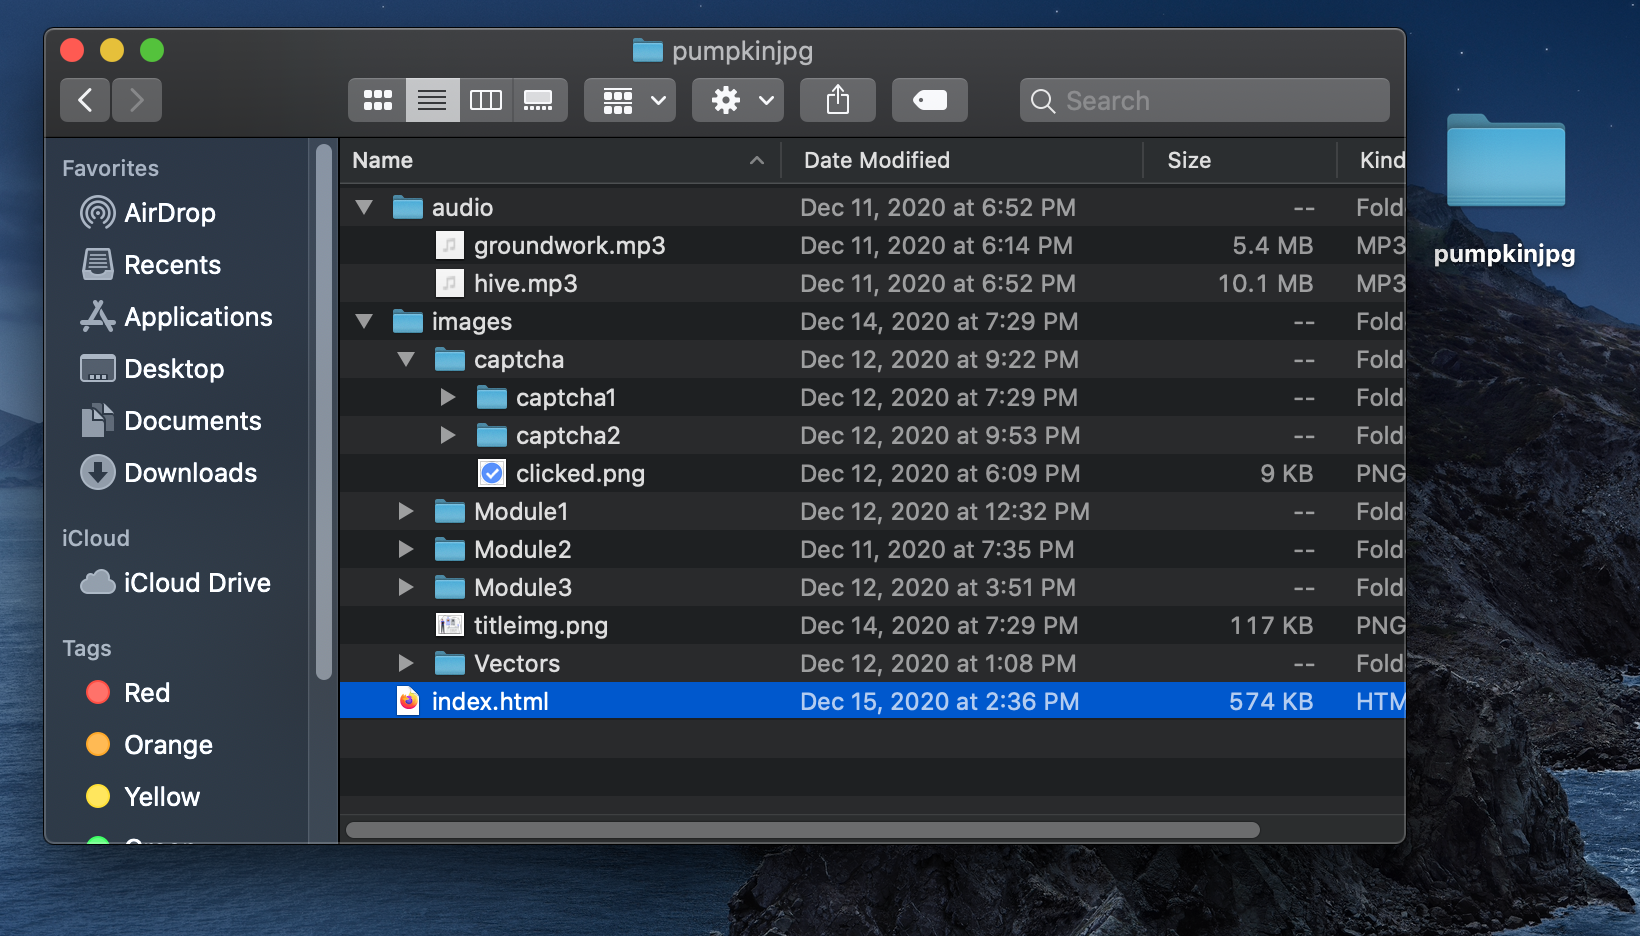
Those also have subfolders within them. Here you can see those expanded.
You don’t have to name your folders like I do. All of that is up to you. The only filename that’s mandatory is index.html.
Calling assets in Twine
To call external images within the game itself, I just use a standard html image tag.
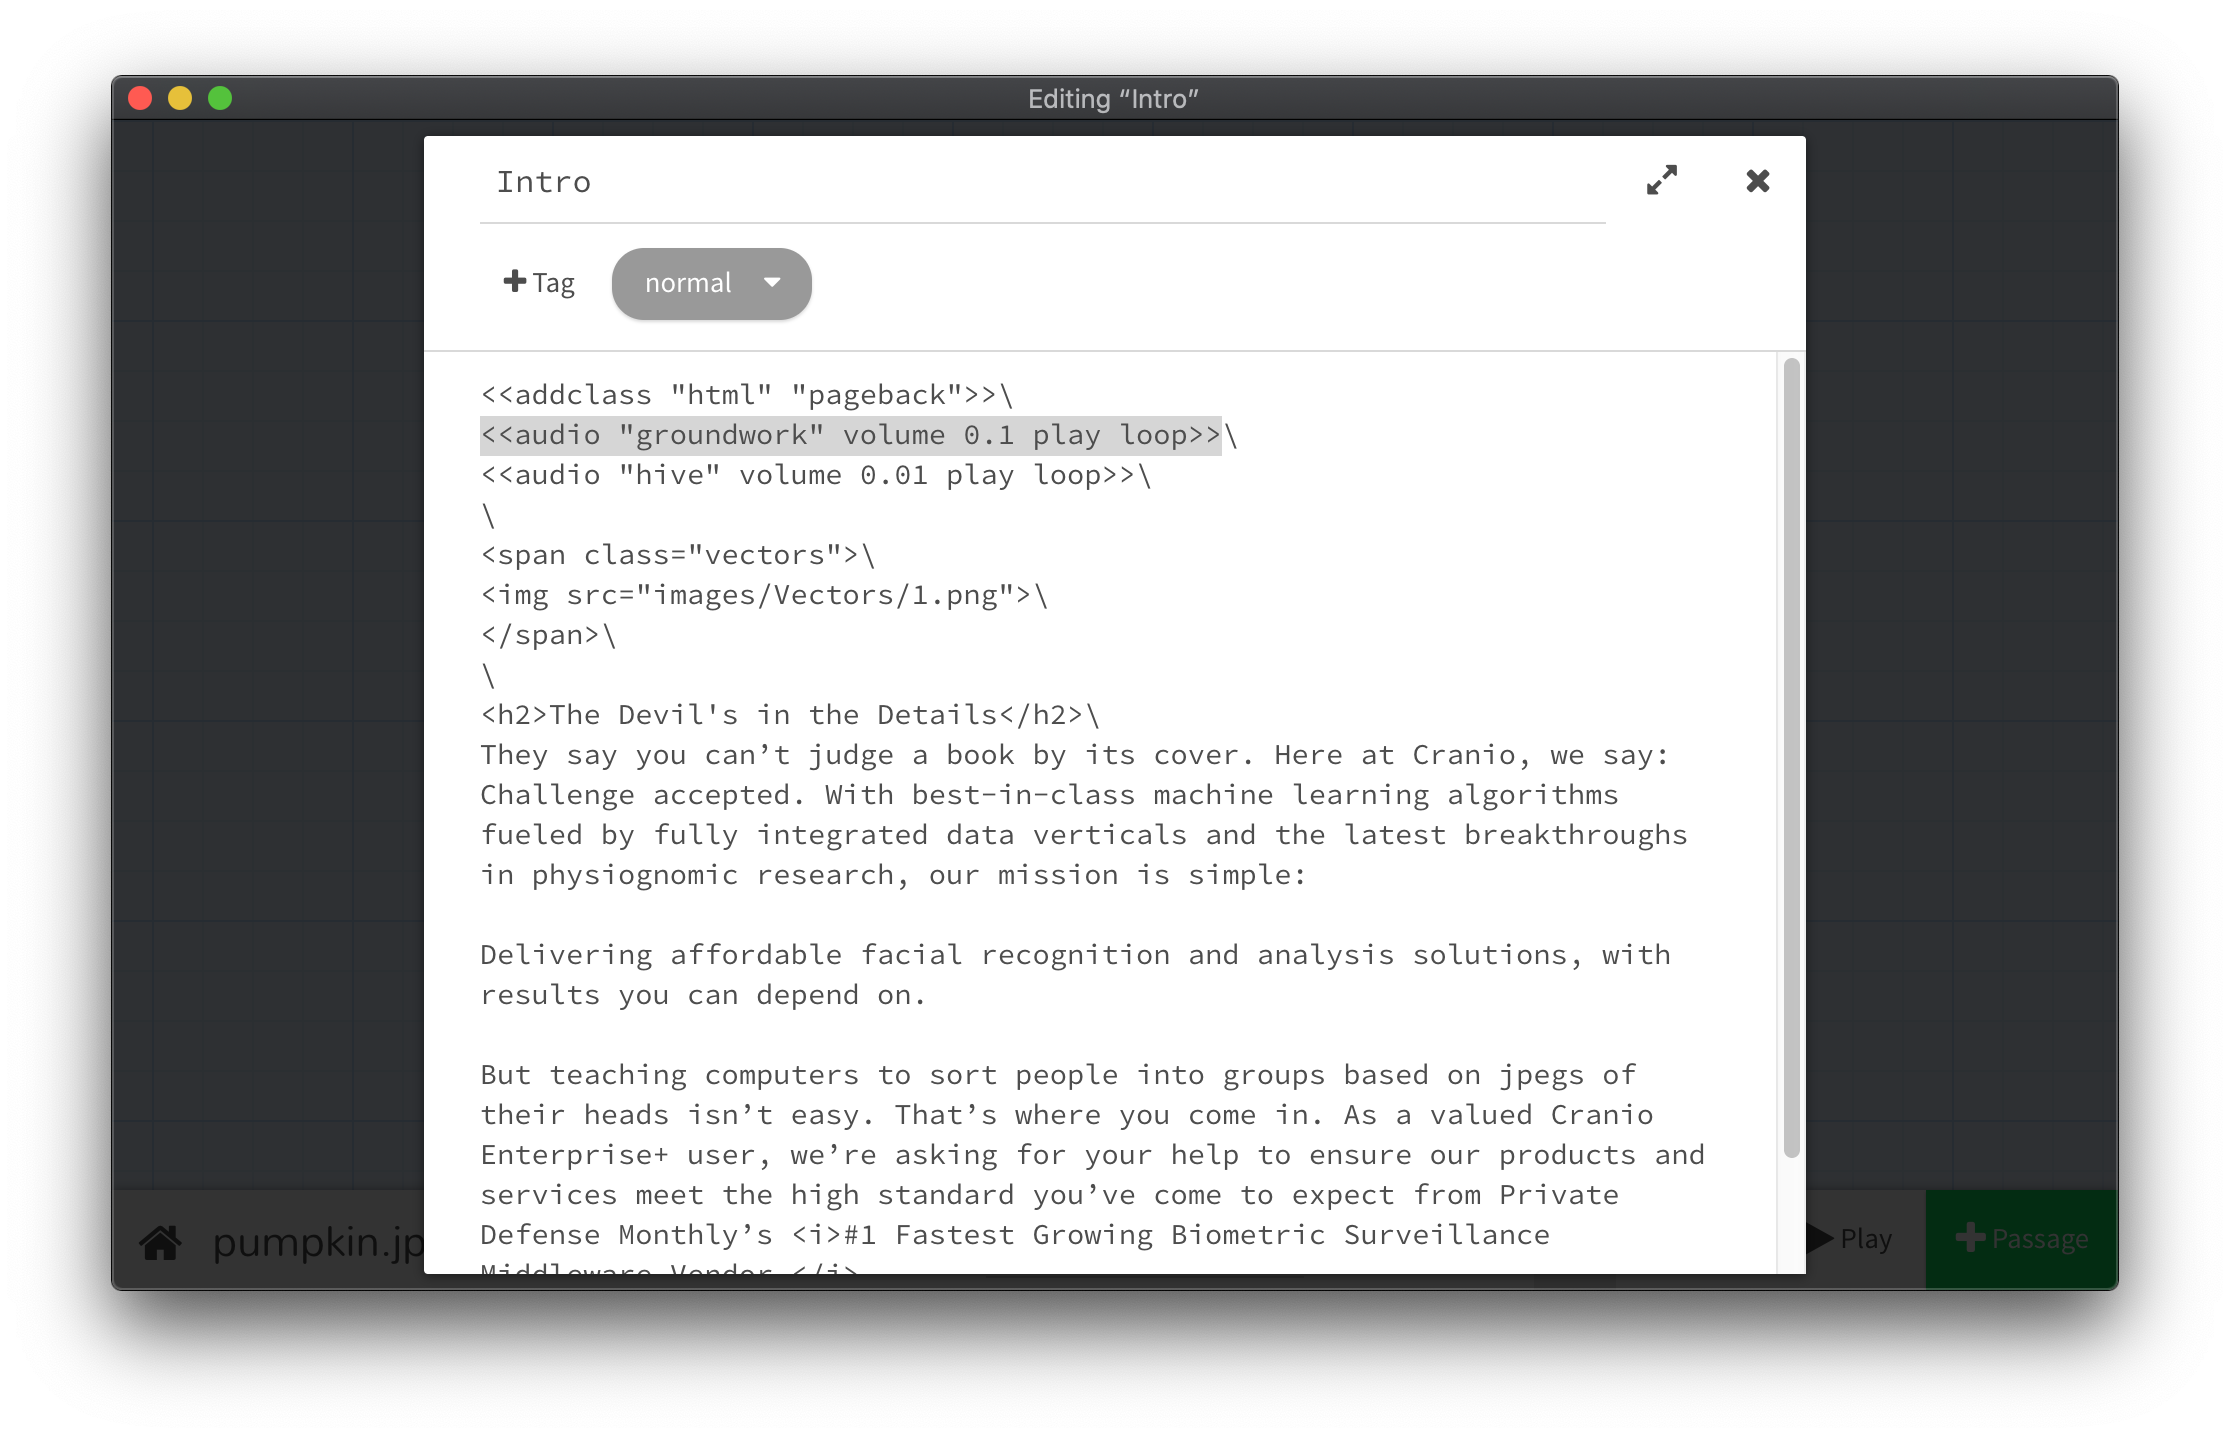
Here I’ll call the image “titleimg.jpg”, within the folder images/assets:

Here’s that filepath in my desktop file browser, just for reference:
Crucial note here: this filepath is case-sensitive. If you call an image within Twine using the wrong capitalization in the file-path, it may not load correctly in all browsers.
So if you notice an image isn’t loading while testing your game, and you’re pulling your hair out trying to figure out why, go into your Twine file and double-check your capitalization. (ASK ME HOW I KNOW.)
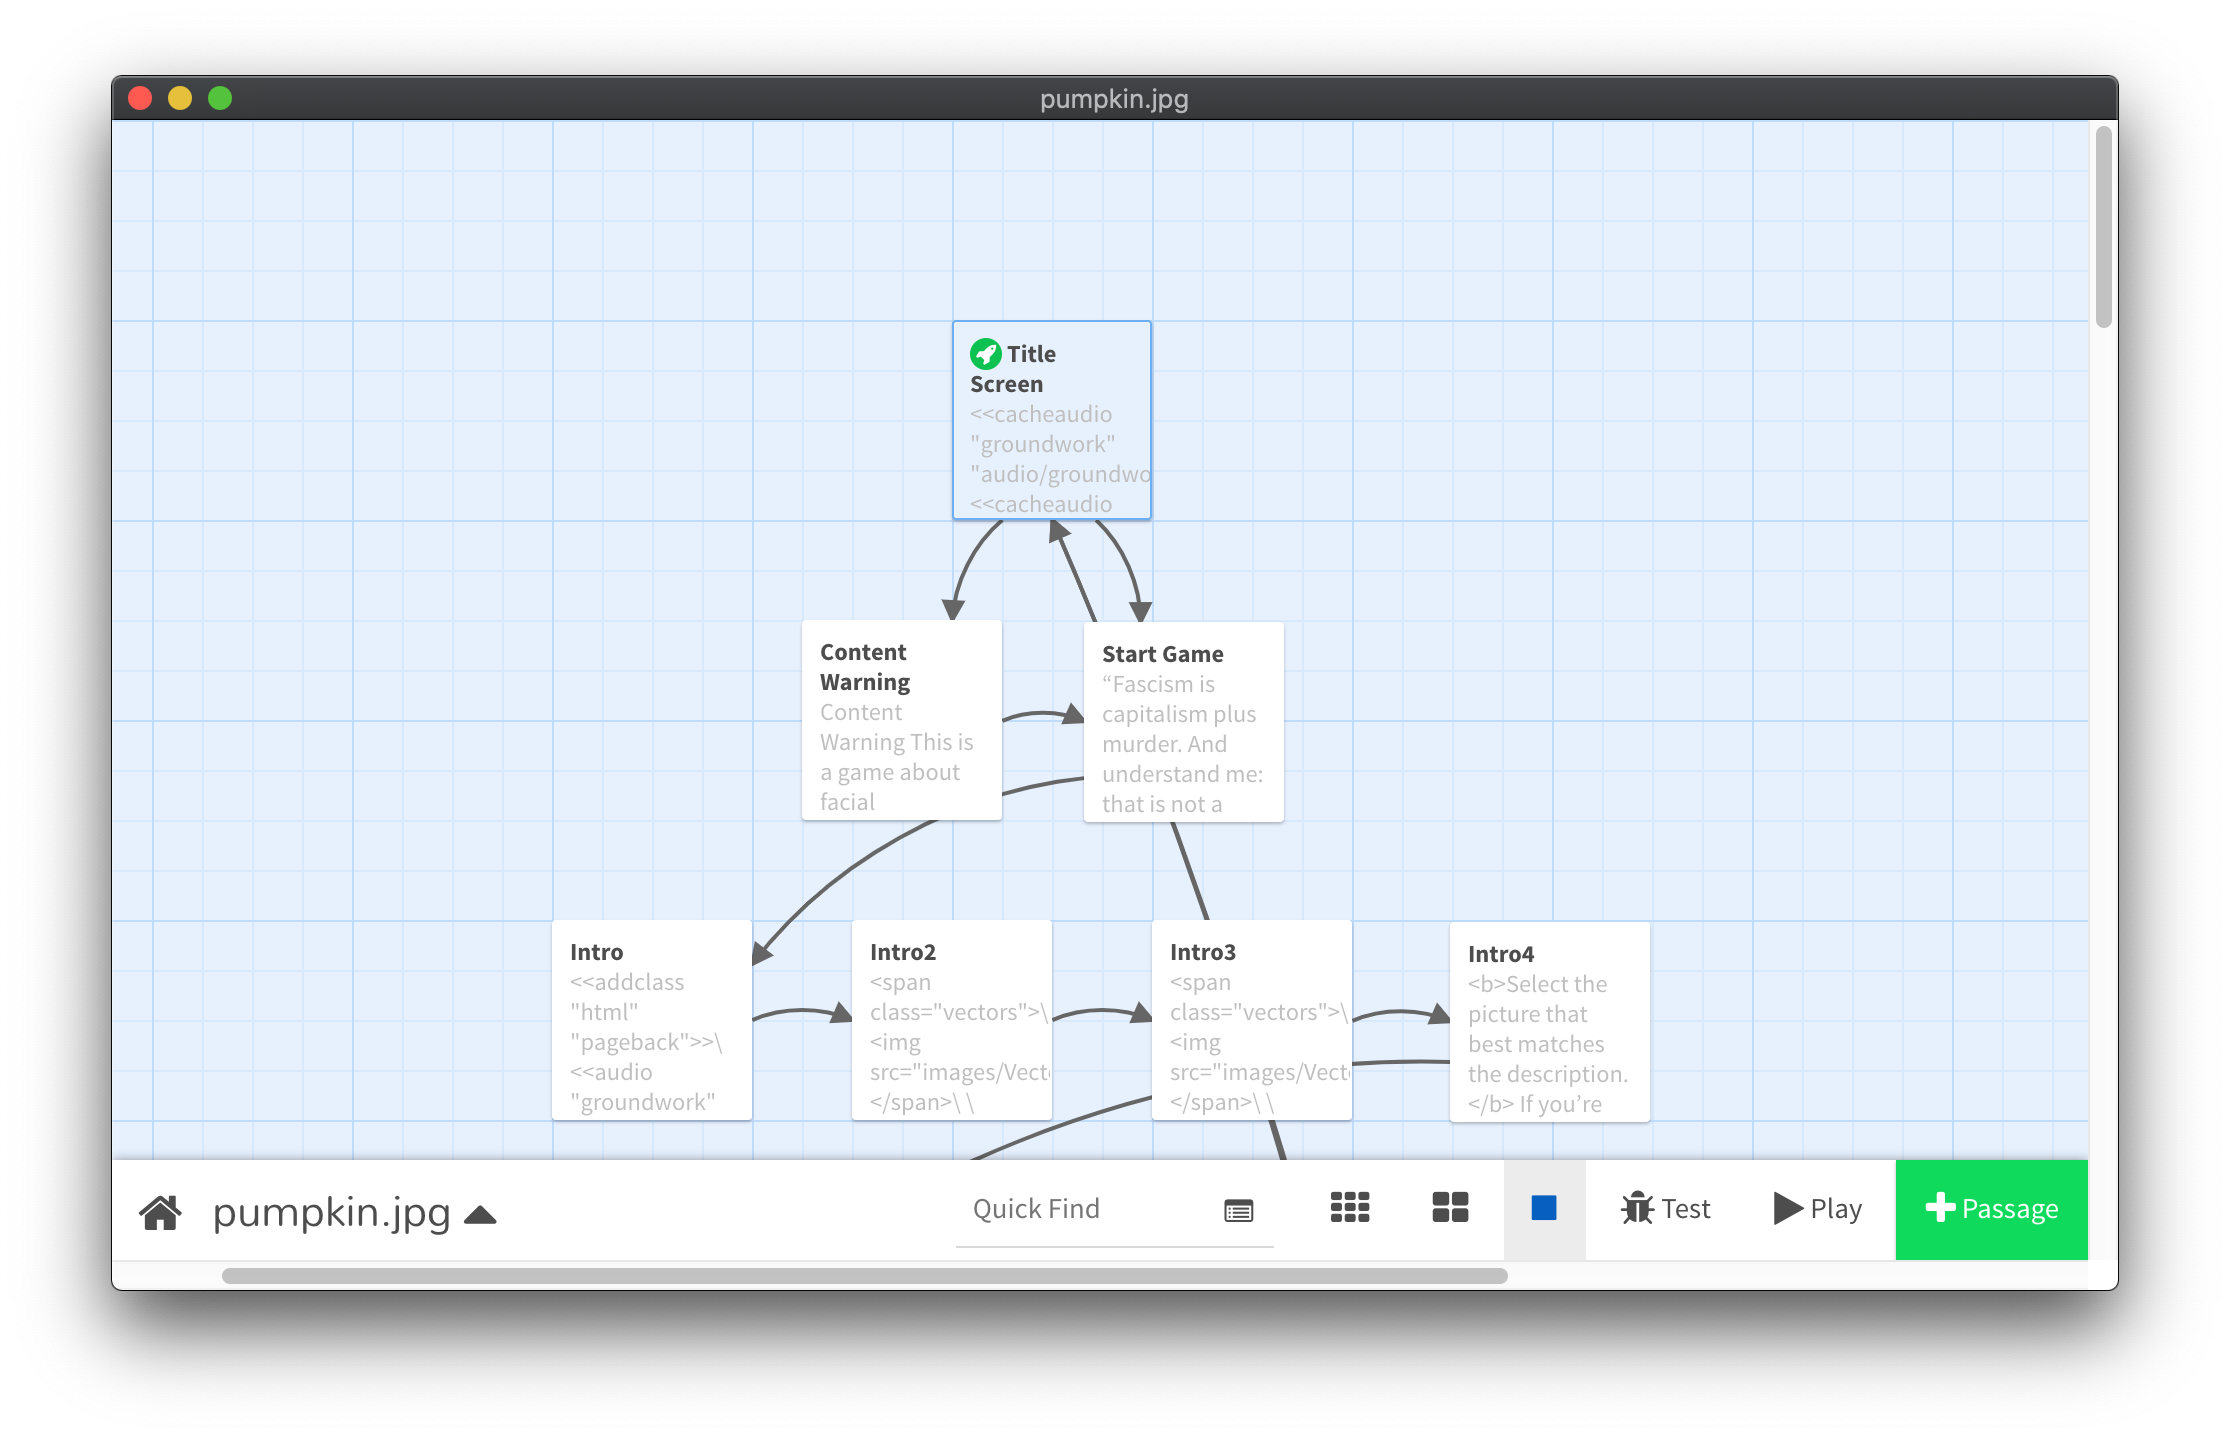
Audio calls are handled pretty similarly, though for those, I use Sugarcube’s built-in audio handler tags. In image 4 above, you can see how I preload each audio file at initialization. Then, when I want to call an audio asset later on, I just do this:
(For more on that, check Sugarcube’s documentation, which you can find here.)
For all the fancy aesthetic stuff, like styling fonts, adjusting image sizes, setting window margins, etc, I use CSS, which you can find in your dropdown menu in Twine under “edit story stylesheet”.
I barely understand how to get Twine and CSS to play nicely together myself, so I won’t even try to give a tutorial on that stuff; you’re gonna have to muddle through and angrily google stuff on your own like I do. Sorry! But if you’d like to explore my stylesheet for pumpkin.jpg, you can find it in the example files at the bottom of this post.
(But again, I barely know what I’m doing, so by no means should you take my hacked-together crap as an example of “good” CSS code. I just stumble through on trial and error.)
Testing Your Game
Because we’re pushing Twine a little beyond what the base engine is designed for, the built-in PLAY button in the lower right-hand corner won’t help us much. If you try to playtest a game with external assets using the PLAY button, the images won’t load. This is because that button builds and runs your Twine game based ONLY on what’s inside it; the Twine software can’t “see” anything else.
Instead, you’re going to use the PUBLISH button.
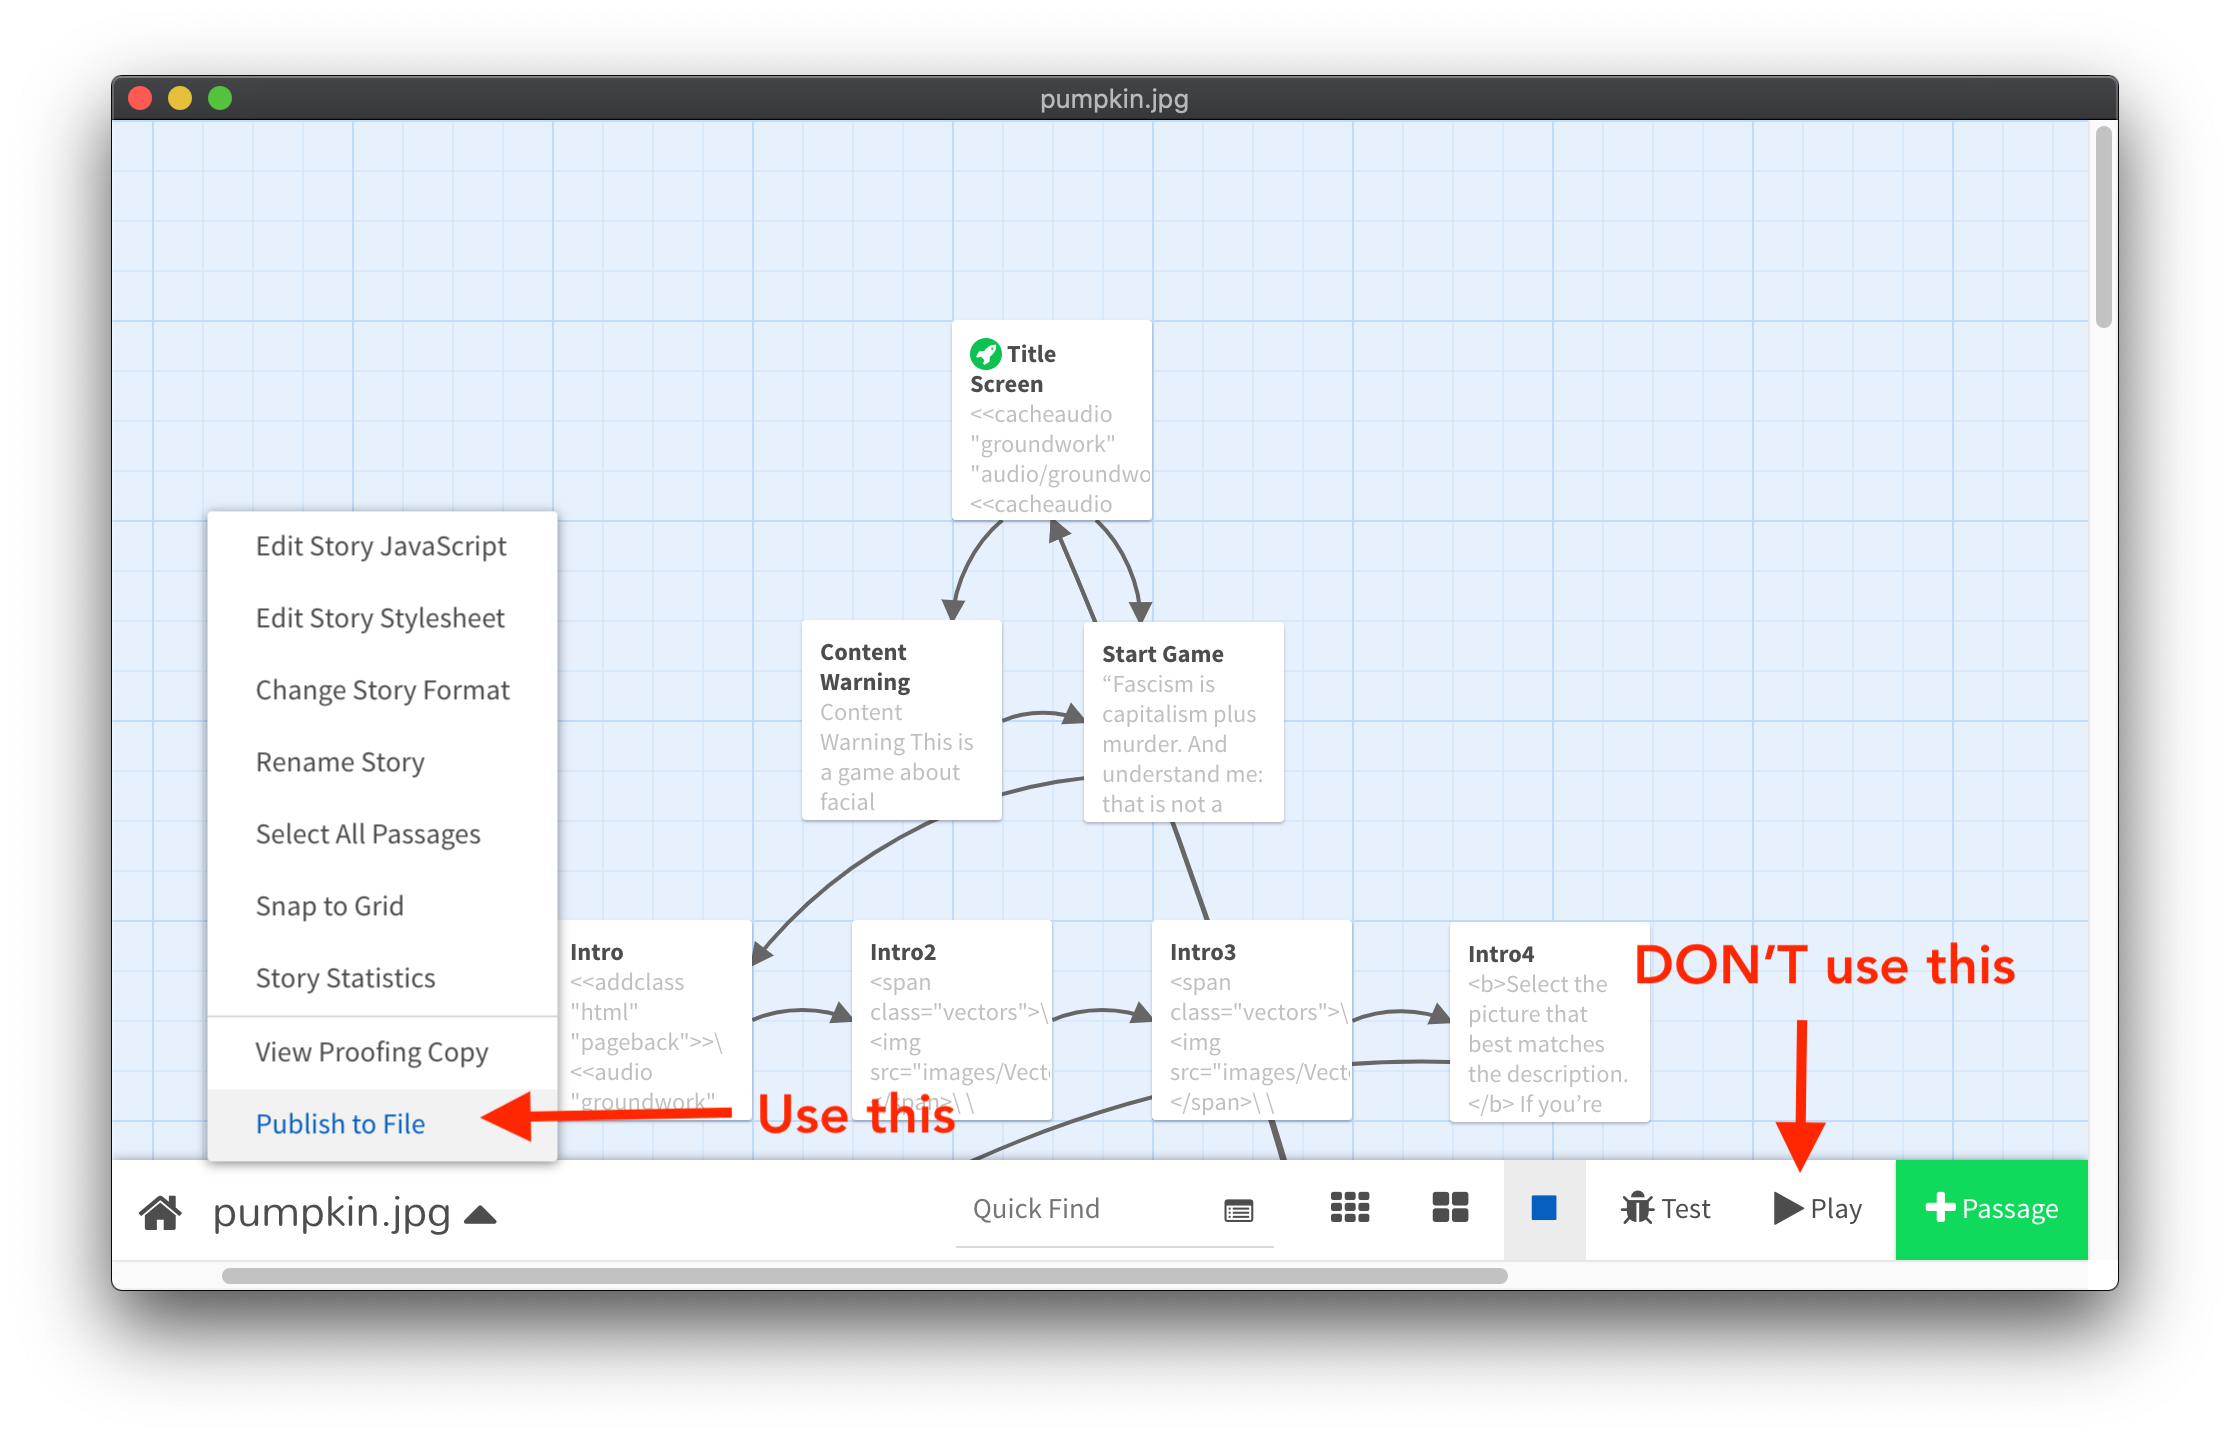
Navigate to the folder where you intend to keep your game assets, and save your published Twine file at the root level as “index.html”.
Then, to test your game, just run index.html in the browser of your choice!
(Note: some browsers disable the ability of an html file to pull from locally-hosted assets on your computer, by default. Apparently it’s a security thing. This takes about 10 seconds to disable in most browsers and is a pretty common question, so google should be able to tell you how to do it in yours.)
Unfortunately, you’ll have to republish your file every time you want to test it. Thankfully, when you click publish, Twine automatically opens to your most recently-viewed folder, so all you have to do is click the existing index.html file and overwrite it.
Why do all this instead of just hosting assets online, e.g. on my WordPress site?
- The images will load faster in your game.
- It allows you to package your game for distribution as a browser-playable, without needing to access any other websites.
- It also lets you package the game as a self-contained thing, i.e. so someone could just download it and play it offline.
- It doesn’t require you to even have your own website, because a lot of creative people don’t nowadays. (Which seems crazy to me, but I guess that just makes me an old geezer.)
Packaging for itch.io
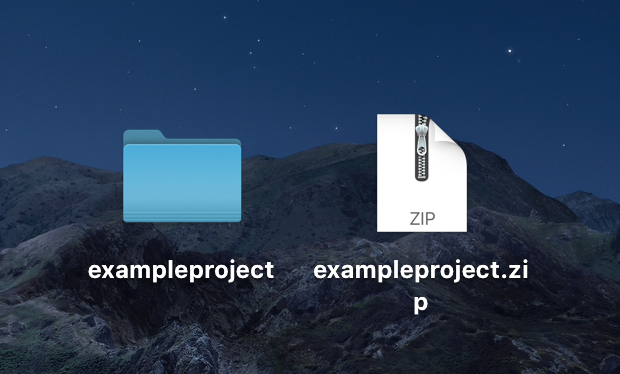
Once your game is complete, publishing it as a web-playable browser game on itch.io is as easy as zipping the folder and uploading it!

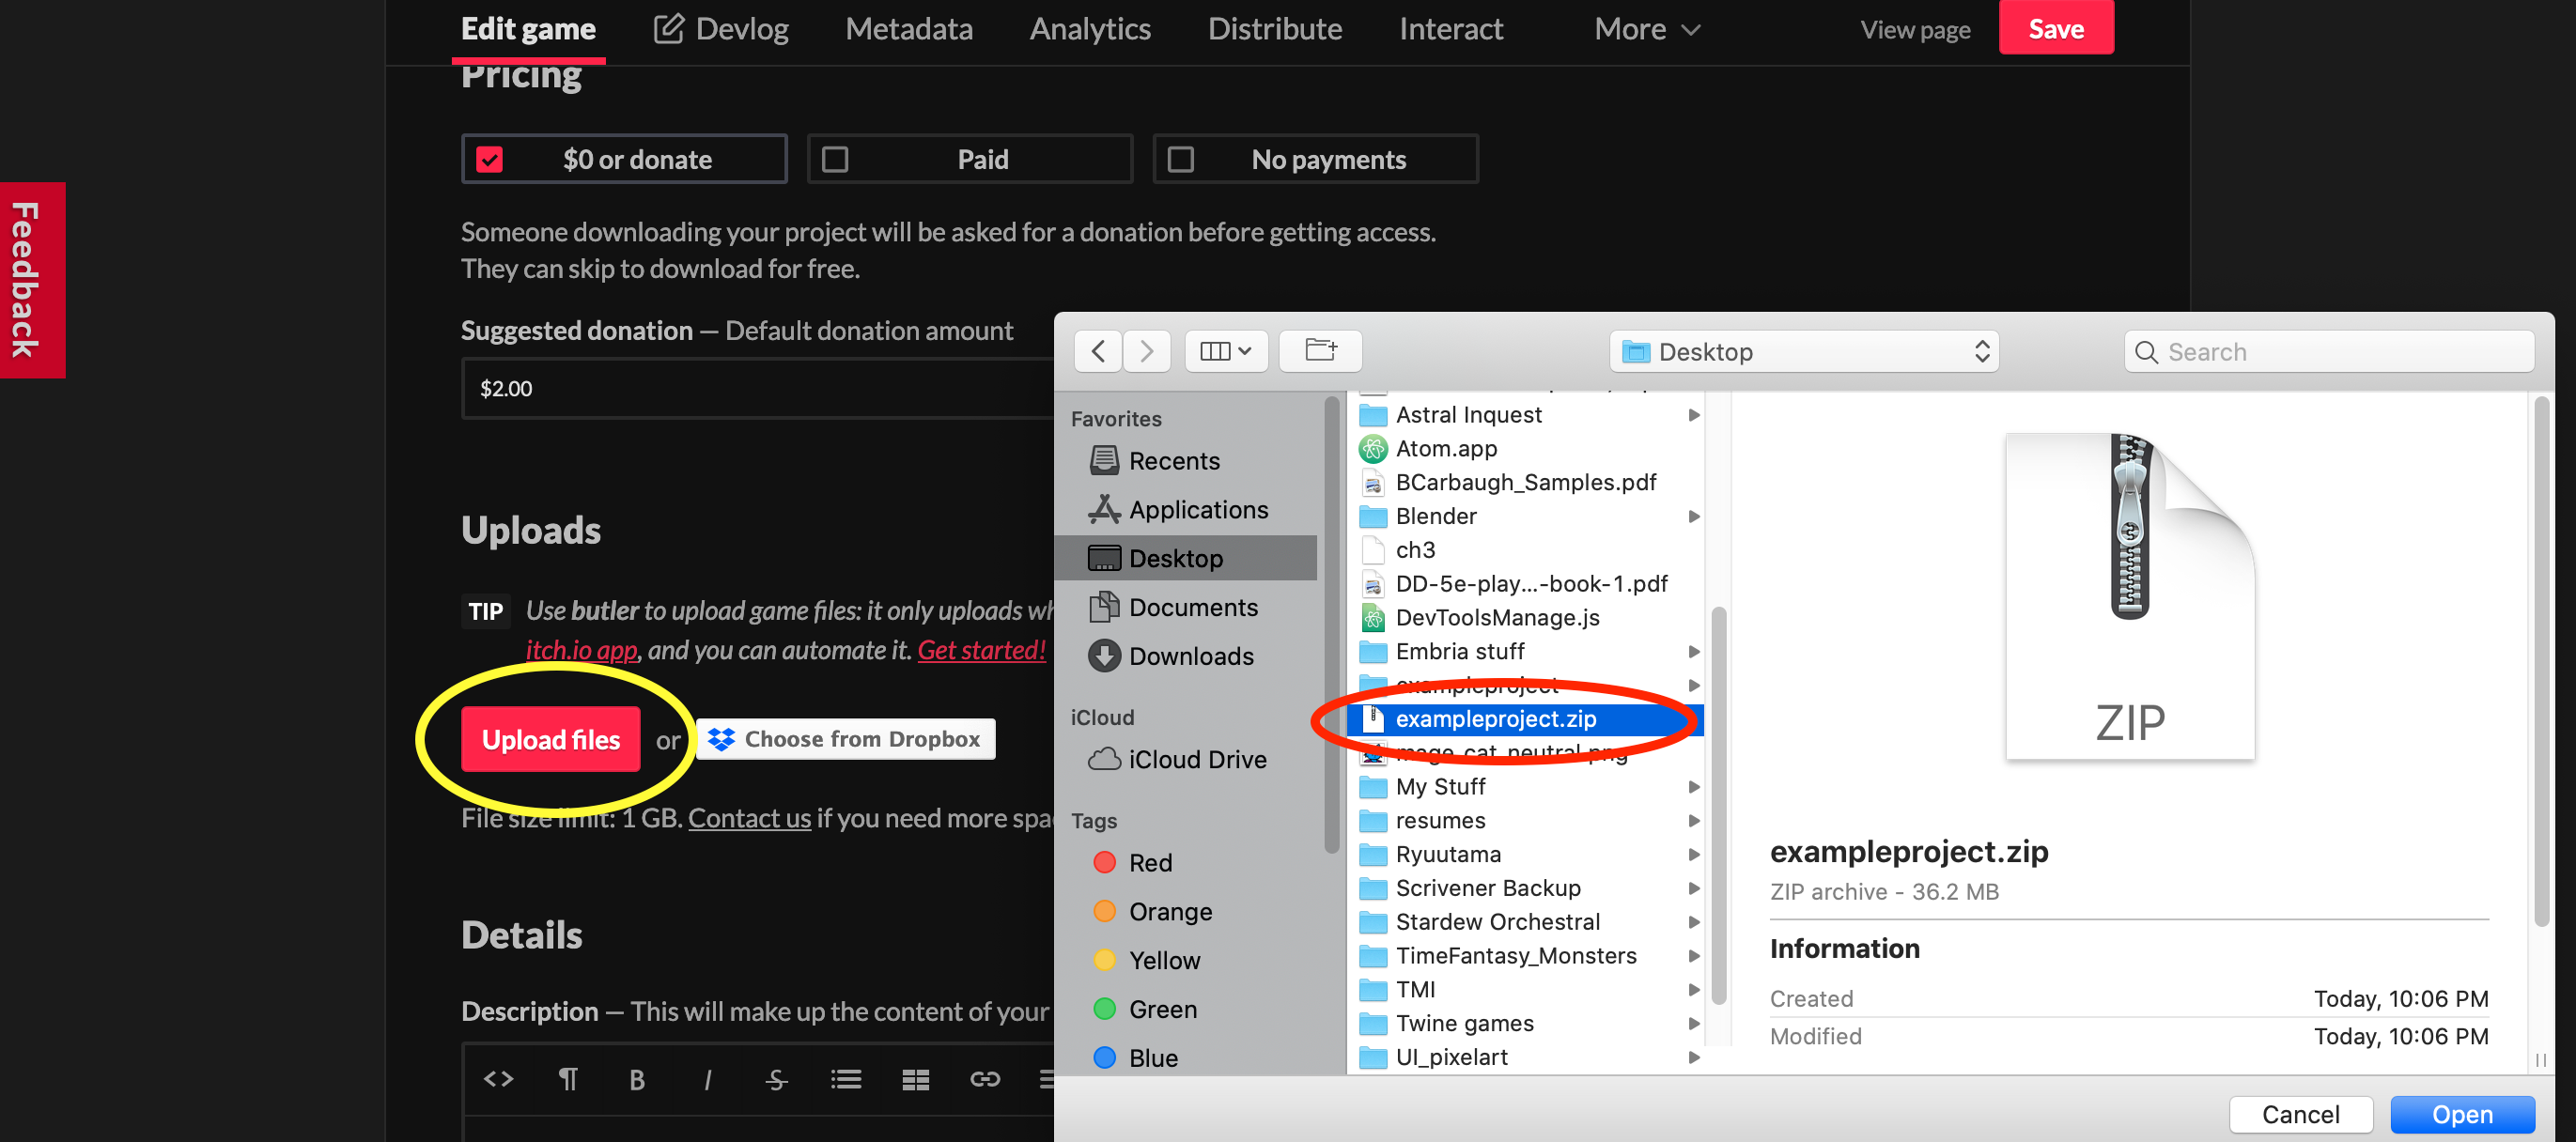
(You have to scroll down to find this.)
Note that when itch unpacks your zip file, the scraper accesses things at the root level of your game’s folder. (Basically, think of itch as a little robot that plunks down right next to your index.html file). That means you don’t need to include the folder name itself in your filepaths.
Other browser-game hosts may handle this differently. I wouldn’t know. Be sure to read whatever documentation they provide carefully!
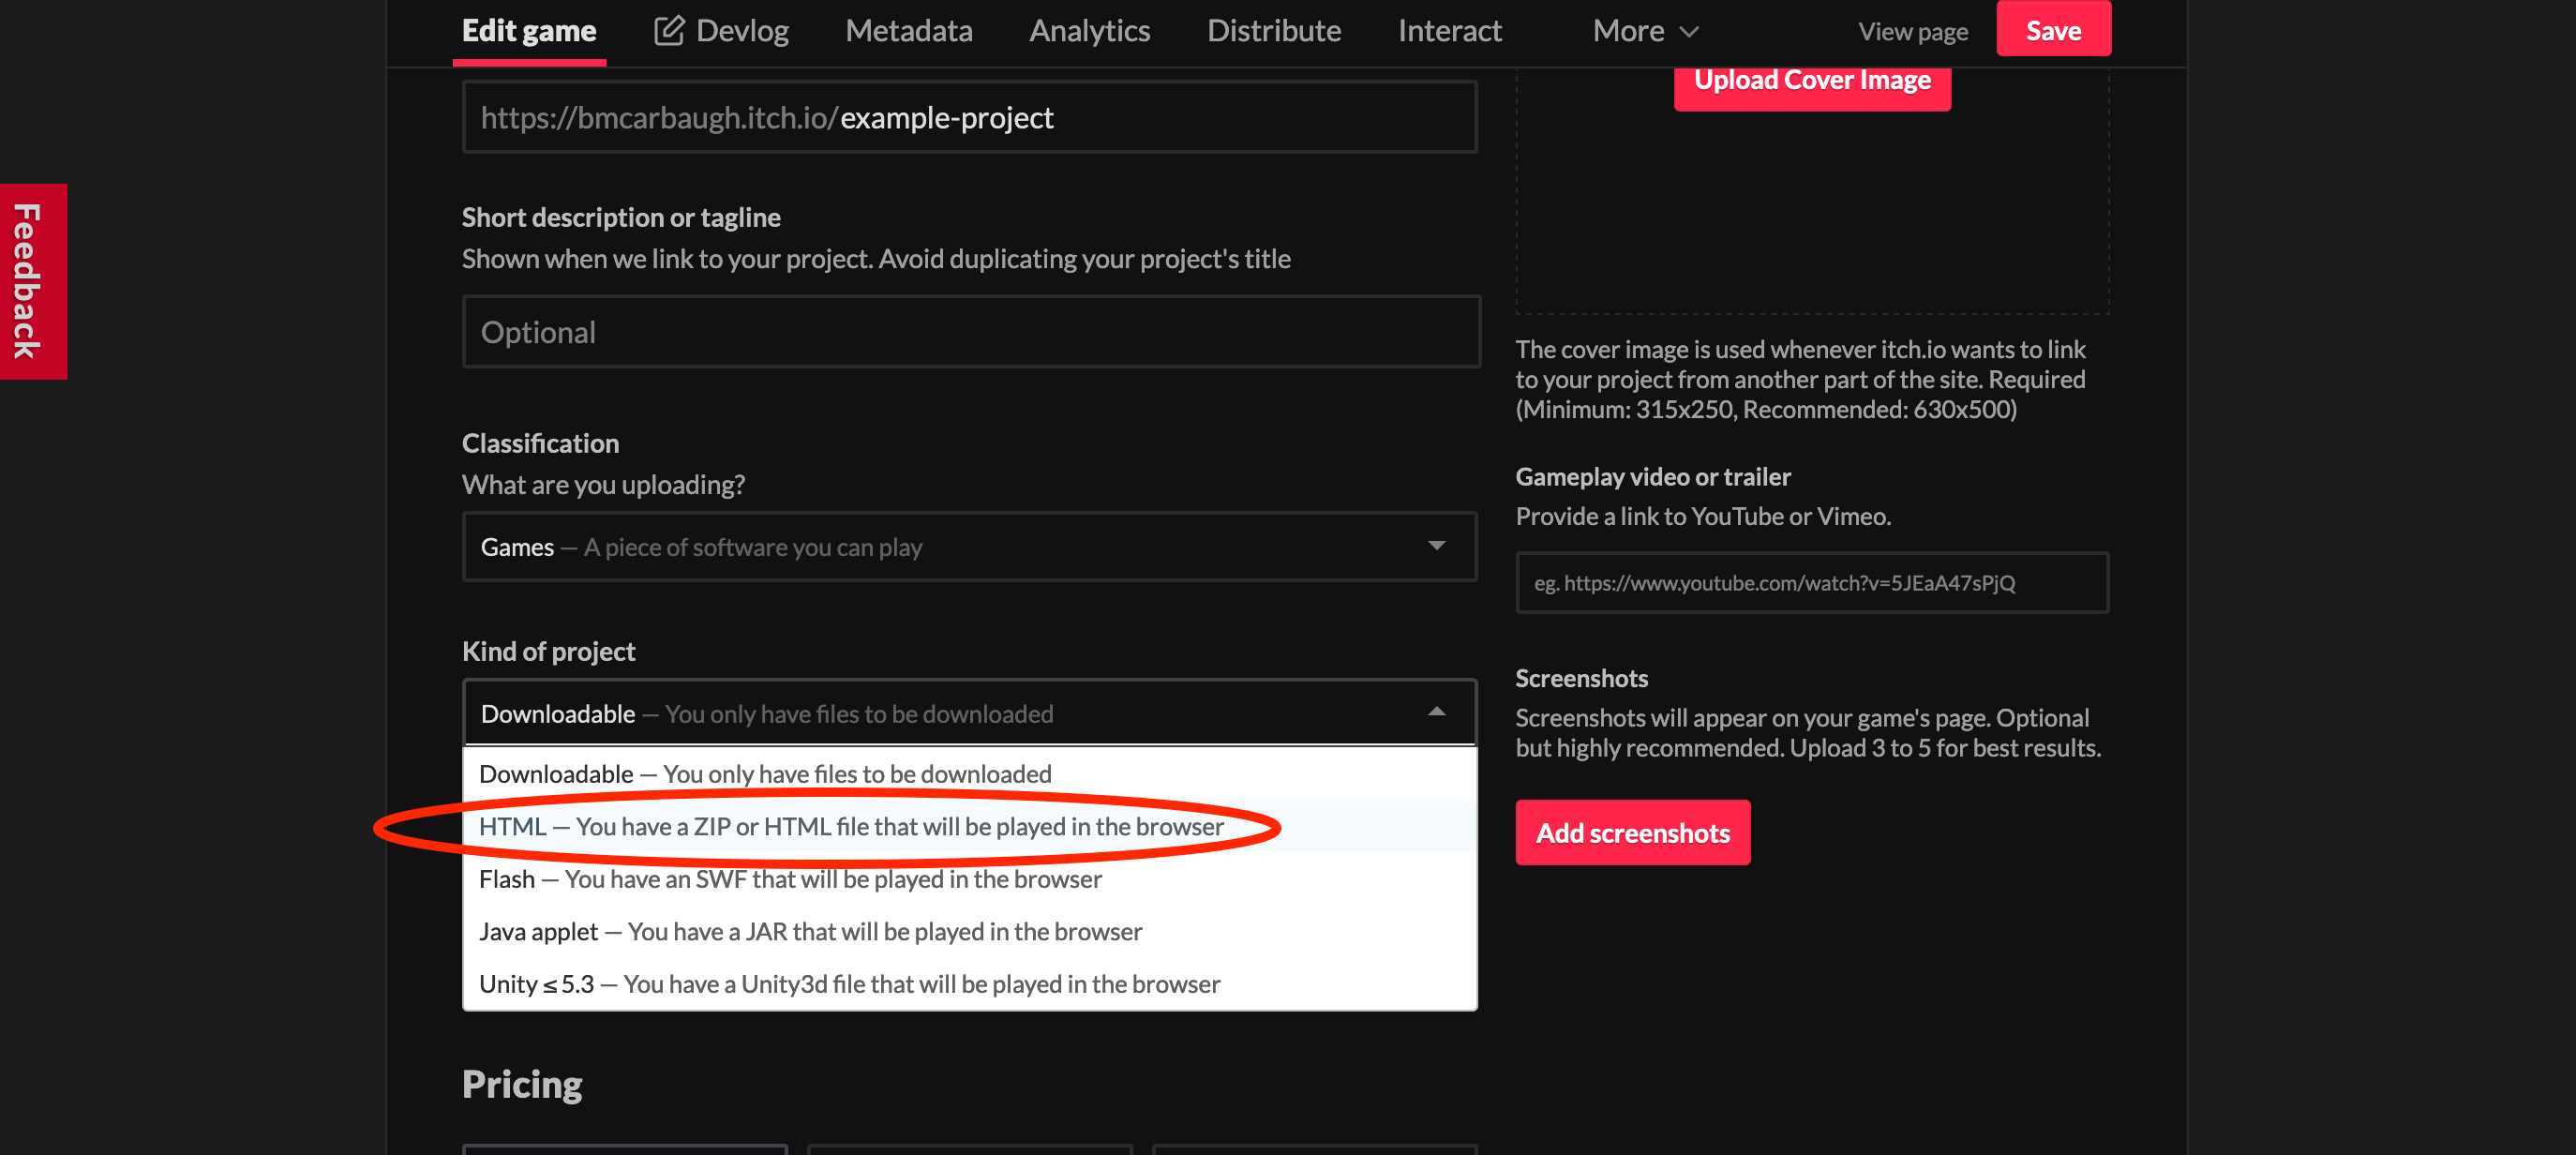
Also, if you want the game to be browser-playable (rather than a download), make sure you set the filetype correctly on your game’s edit page.
Source files
If you’d like to tear through the source files for pumpkin.jpg, you can download them here.
(I’m sharing this under a Creative Commons 4.0 International License, which means you’re free to share, copy, and redistribute it, so long as you’re not selling it and you attribute it to me. You can modify it as much as you like for your own learning purposes, but you’re not allowed to distribute it with modifications.)
Hopefully this helps save someone else some time!
If you have any questions, feel free to pop them in the comments.